Lab 2 - Bad Robot Surgeon
Lab Instructions
Goal: Build two robot arms that mirror each other’s motion.
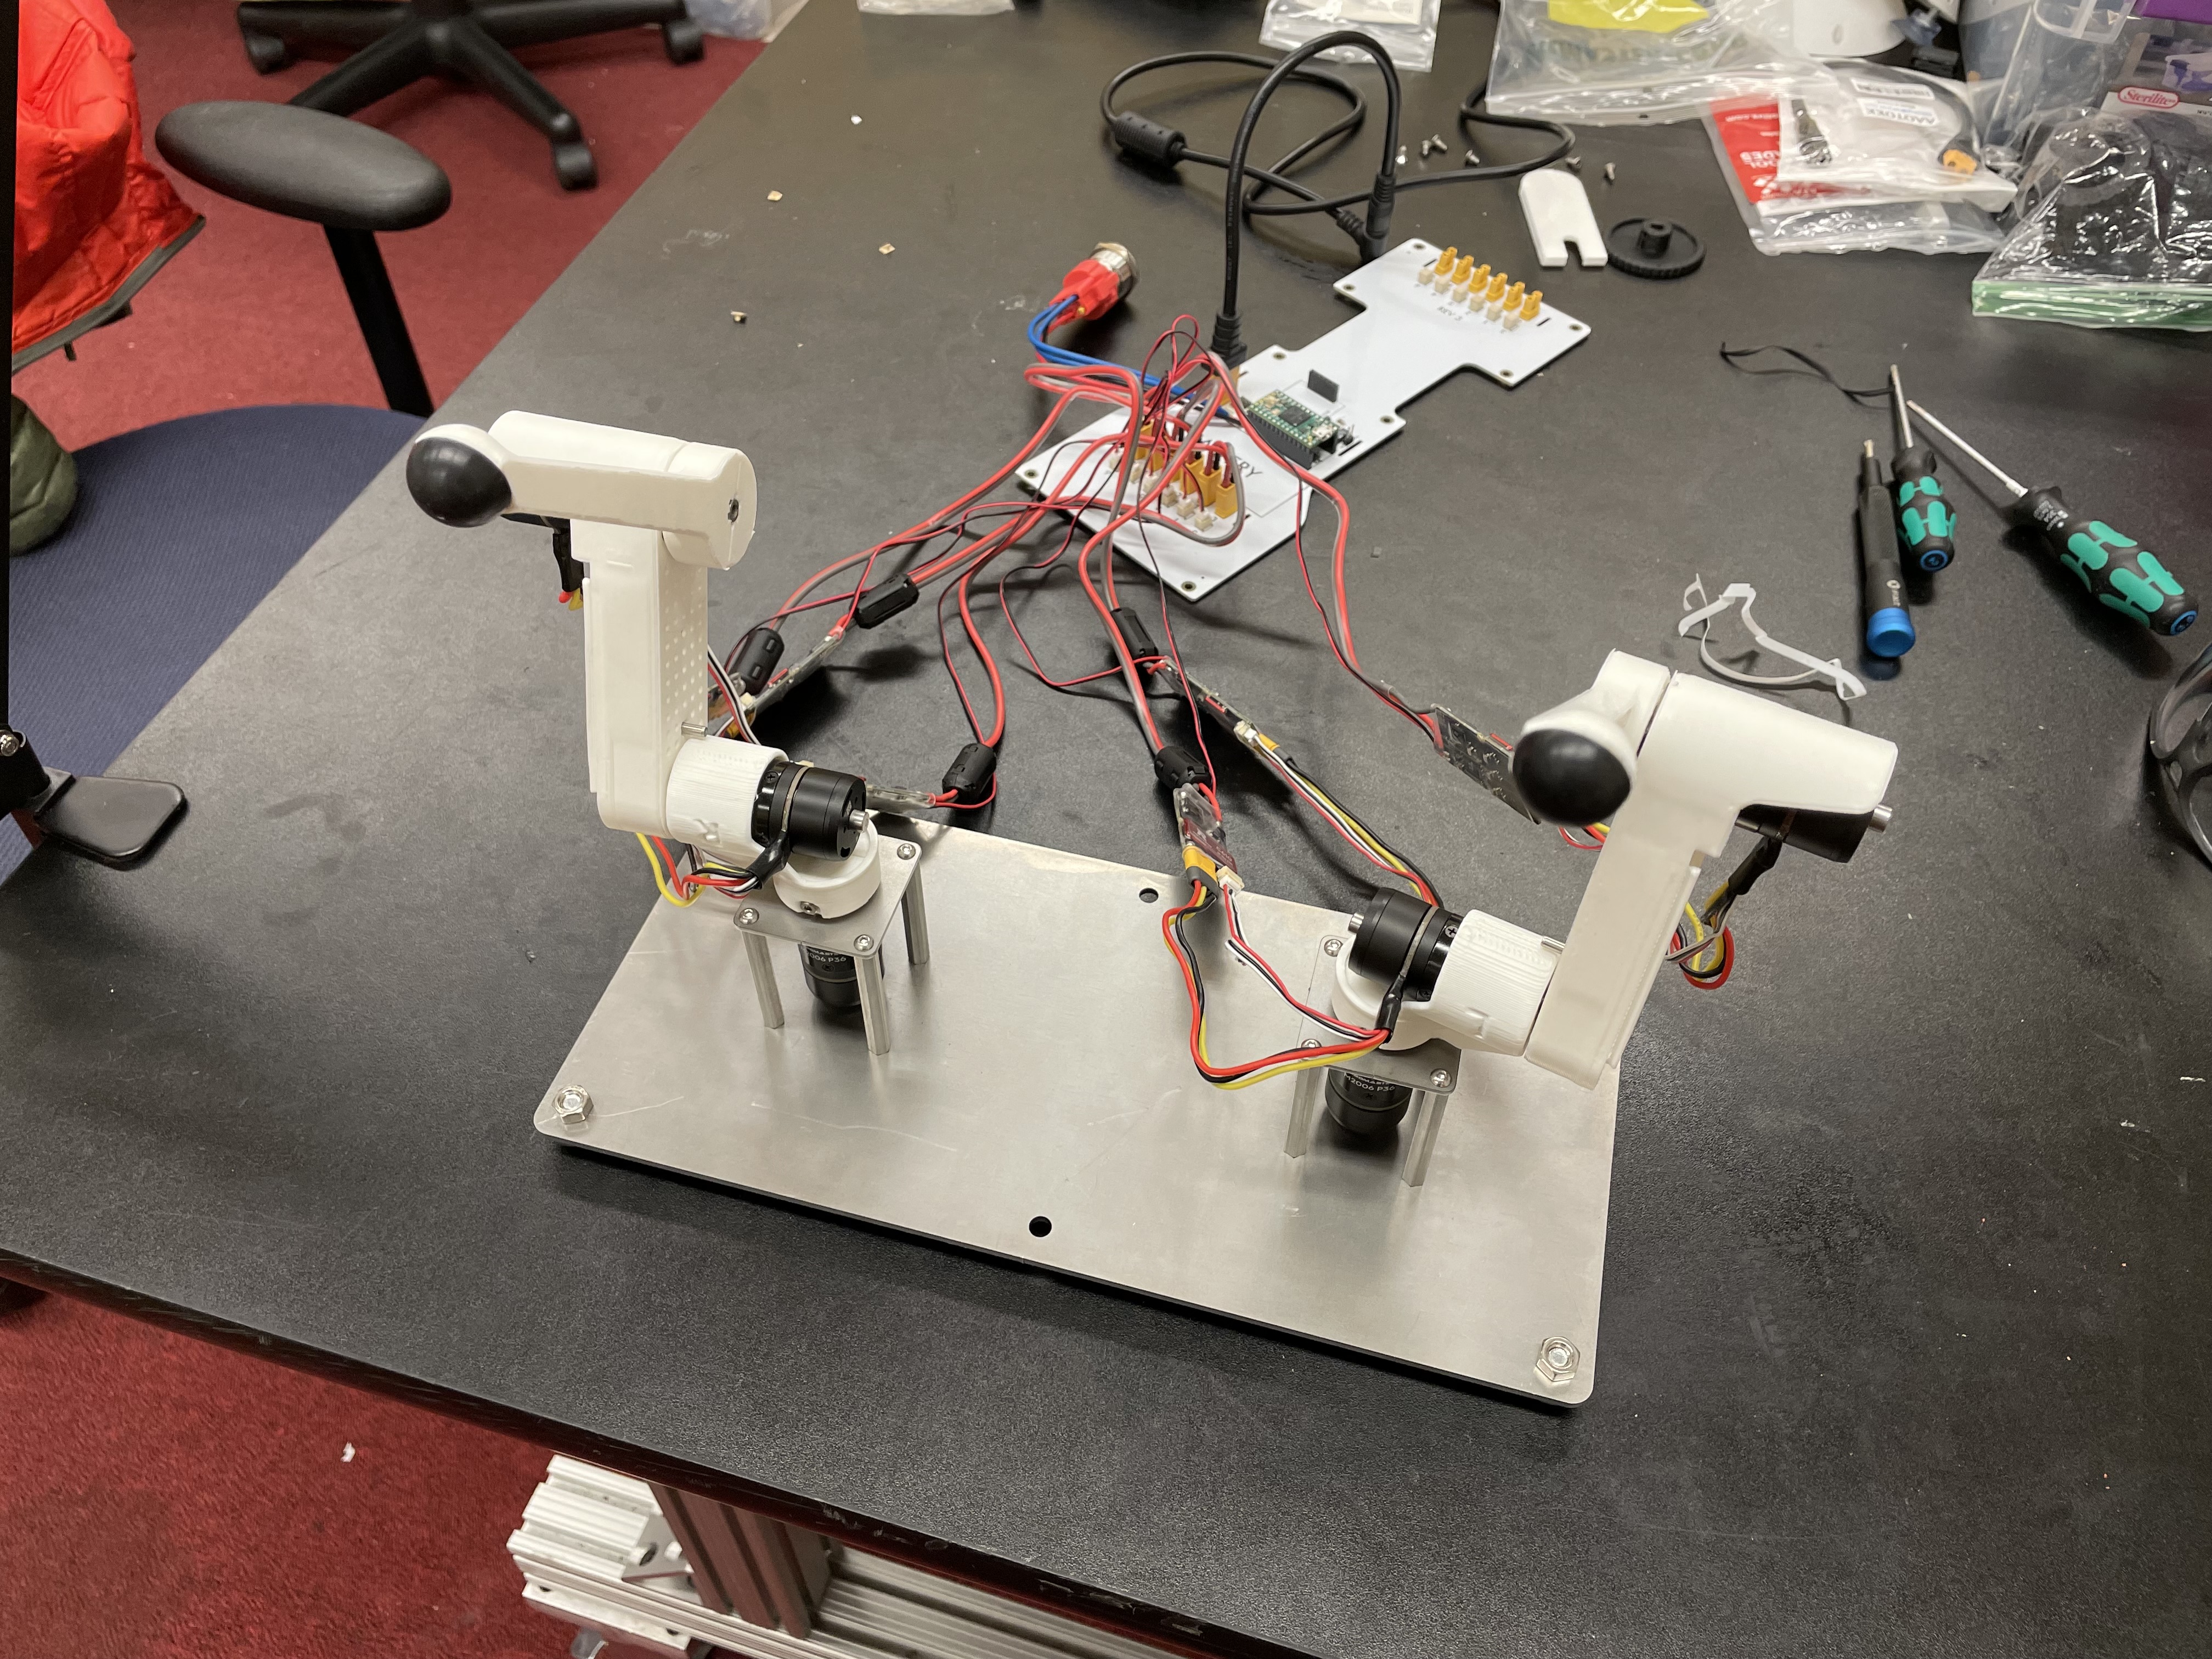
Assembled teleop robot arms
Step 1. Connect 2 more motors
Connect power and encoder cables from motors to controllers.
Connect power and CAN cables from controllers to Pupper PCB. Make sure the CAN cables go into the same row (row near the Teensy).
Set the new motor controllers to have different IDs. Use 1, 2, and 3. Important: To set a motor controller to a certain ID, click (short press) press to put the motor controller into id-setting mode, then click N more times in quick succession, where N is the desired ID. Eg, for a desired ID of 3, press 3 more times after the first click. Unplug the CAN (small) cables from the PCB while setting ID’s to make it easier, otherwise they may conflict while you are changing them
Step 1.5. Control the 3 motors together
Modify your PD control code from lab 1 to control all 3 motors (controlled independently).
[TODO: insert pic of compeleted setup]
Step 2. Insert square nuts into plastic parts
You may need to use force to get them in.
Step 3. Connect and calibrate electronics
IMPORTANT: Calibrate each motor before you assemble the arm, so that they get an accurate calibration with no load. Once you calibrate the motor, keep it with the motor controller you calibrated it on. The calibration is dependent on the motor controller, so that motor is now paired with the motor controller. If in doubt, recalibrate.
Step 4. Assemble the three motors into a robot arm!
IMPORTANT: Make sure you calibrated the motors before assembling the arm!
The robot arm we’re making is actually one of Pupper’s right legs so you’ll see the instructional videos reference it as such.
Assembly Pro Tips
Use the tip of the hex driver to align the shoulder bolt with the square nut. This will make assembly much easier.
Use force when inserting the shoulder bolts. Sometimes it is hard to get them through the hole in the motor shaft even if perfectly aligned.
Tighten the shoulder bolts as tight as possible without stripping. It is vital for the future stability of your Pupper!
Step 5. Run your code again on the new robot arm
Note that the “zero” position of these motors is whatever position it was at when the Teensy and motor were first both powered on.
Upload and run your code for controlling the 3 motors simultaneously.
Example where the arm PID positions targets are set so that it stands up vertically.
Step 6. Connect three more motors to use as control dials
Connect three additional motors to the same CAN bus (ie same row of connectors).
Calibrate and connect three additional motors to the Pupper PCB.
Set their IDs to not overlap with your existing motors. We use 4, 5, and 6.
Set the target positions of the base motor, shoulder motor, and elbow motor to the angle readings of the first, second, and third new motors respectively.
[TODO: gif]
Step 7. Connect and calibrate electronics for second robot arm
Step 8. Assemble the three new motors into a robot arm
We’re now making one of Pupper’s left-side legs to use as the second robot arm.
Step 9. Use the arms as leader and follower.
Use the same code as in Step 6 where one set of motors controllers the other.
Start the robot arms from the same position.
Tune Kp and Kd gains and maximum current as you like.
[TODO: pic]
Step 10. Make the robot arms bidirectional!
Program position control for the leader arm actuators (formerly control dial actuators)
Set the position targets of the leader arm to the positions of the follower arm.
Assuming the leader arm has controller IDs 1, 2 and 3, and the follower arm has controller IDs 4, 5 and 6, you can send current (ie torque) commands to the robot arms with the code
bus.CommandTorques(m0_current, m1_current, m2_current, m3_current, C610Subbus::kOneToFourBlinks);
bus.CommandTorques(m4_current, m5_current, 0, 0, C610Subbus::kFiveToEightBlinks);
Congrats. Play with your robot! Make modifications!
[TODO: gif]